Tweaking xterm(1)
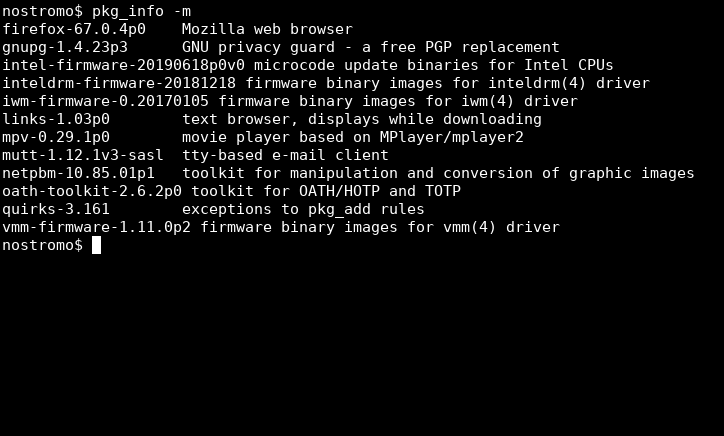
I try to keep my system as clean as possible and avoid installing any packages(7) unless I really have to. I know how much time and effort that goes into auditing the OpenBSD source tree and I prefer to learn the software that is already installed on my system before adding new software.
One of those things is a terminal emulator. Since OpenBSD ships with Xenocara, it also comes with xterm(1), which suits my needs perfectly. It does however require some tweaking before I'm satisfied.
Font, colors and styling
I prefer my terminal emulator to use bright text on dark background, not show any bold fonts, hide the scrollbar and allow me to switch windows in irssi with the alt-key.

This can easily be done by modifying your ~/.Xresources, add the following:
XTerm*faceName: DeJavu Mono
XTerm*faceSize: 11
XTerm*allowBoldFonts: false
XTerm*scrollBar: false
XTerm*loginShell: true
XTerm*eightBitInput: false
XTerm*internalBorder: 2
XTerm*foreground: white
XTerm*background: black
XTerm*color0:  #2e3436
XTerm*color8:  #888A85
XTerm*color1:  #cc0000
XTerm*color9:  #ef2929
XTerm*color2:  #4e9a06
XTerm*color10: #8ae234
XTerm*color3:  #edd400
XTerm*color11: #fce94f
XTerm*color4:  #3465a4
XTerm*color12: #729fcf
XTerm*color5:  #92659a
XTerm*color13: #c19fbe
XTerm*color6:  #07c7ca
XTerm*color14: #63e9e9
XTerm*color7:  #d3d7cf
XTerm*color15: #eeeeee
Reload your options using xrdb -load ~/.Xresources. The reason for using the DeJavu Mono font is again, because it comes pre-installed. If you don't like it and want something else, I recommend giving Source Code Pro a try. It's available as a package.
I also want xterm(1) to run a login shell, because otherwise it won't execute ~/.profile when I open a new window.
Backspace and delete
By default, xterm(1) will behave the same way whether you press the backspace or the delete button, delete the character on the left side of the cursor. I'm used to backspace behaving this way while delete deletes the character on the right side of the cursor.
To change this behaviour, add the following translations to your ~/.Xresources and reload:
*VT100.Translations: #override \
    <Key>BackSpace: string(0x7F)\n\
    <Key>Delete:    string("\033[3~")
*ttyModes: erase ^?
Select, copy and paste
To copy and paste text with xterm(1), simply select the text you want to copy and it will automatically be copied to your clipboard. To paste it, click the middle-button (usually the scroll-wheel). If you want to select text that spans across multiple pages, simply left-click where you want to start to select, scroll down to where you want to end the selection and right-click.
By default, when you double-click on a word, the word will be selected and if you triple-click, the whole line will be selected. The word select isn't really what I want, since it doesn't select special characters. To change this, we can write a regular-expression which is used when selecting.
To do so, add the following to your ~/.Xresources and reload:
XTerm*on2Clicks: regex [^ \n()]+
This way, double-clicking on a URL or IP-address will select the whole thing instead of just parts of it.
Summary
So, if you want xterm(1) to look and feel more like what you might be used to, grab my ~/.Xresources and reload your X resource database. If you already have a ~/.Xresources, make sure to make a backup.
$ cp ~/.Xresources ~/.Xresources.bak
$ ftp -o ~/.Xresources https://ifconfig.se/.Xresources
$ xrdb -load ~/.Xresources
$ xterm
If you also prefer xterm(1) and think that I've missed some useful setting, please let me know. :-)